My Real Fairy – Lifestyle blog….. Tales of our family…Book & product reviews, competitions and giveaways, poems, arts & crafts and hints & tips. A bit of everything!
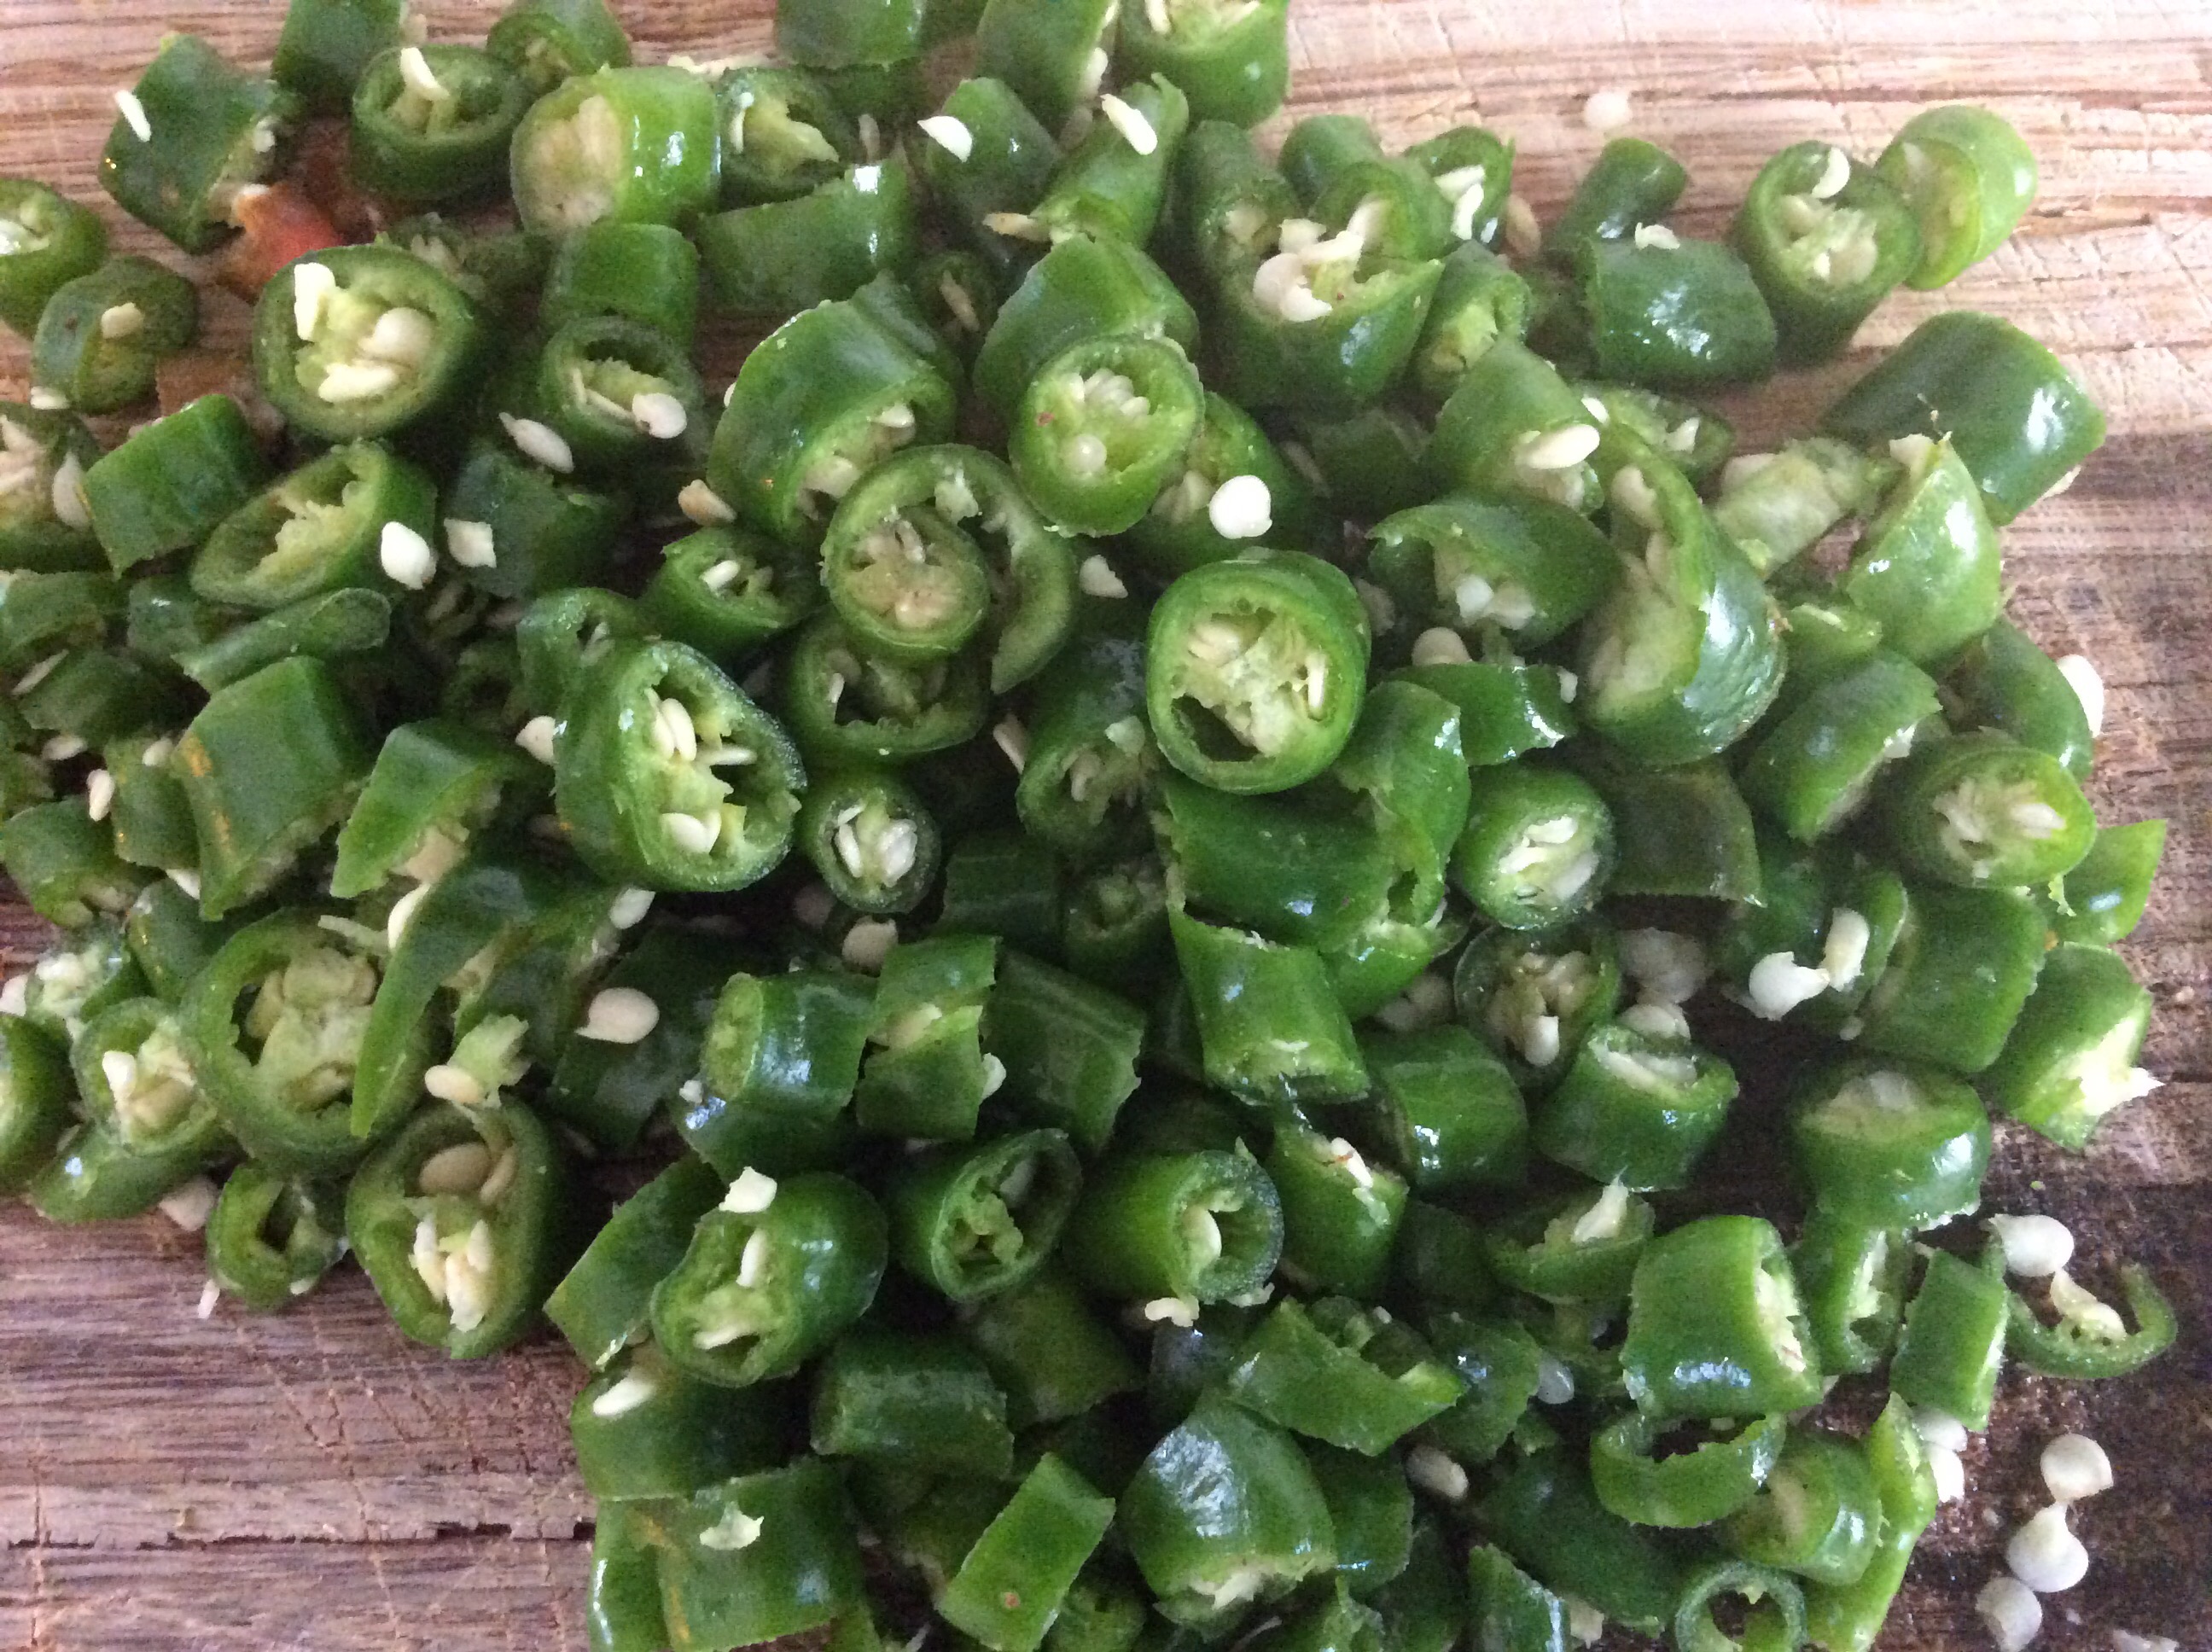
As you may know by now I love a quick and easy tasty recipe. Here we have Easy Pickled Green Chillies. I grew these cayenne peppers in pots on our window sill at home and because they were producing so many of them quite quickly I wanted a way to preserve them for future use. I have picked when green but you can wait and do the same when red.
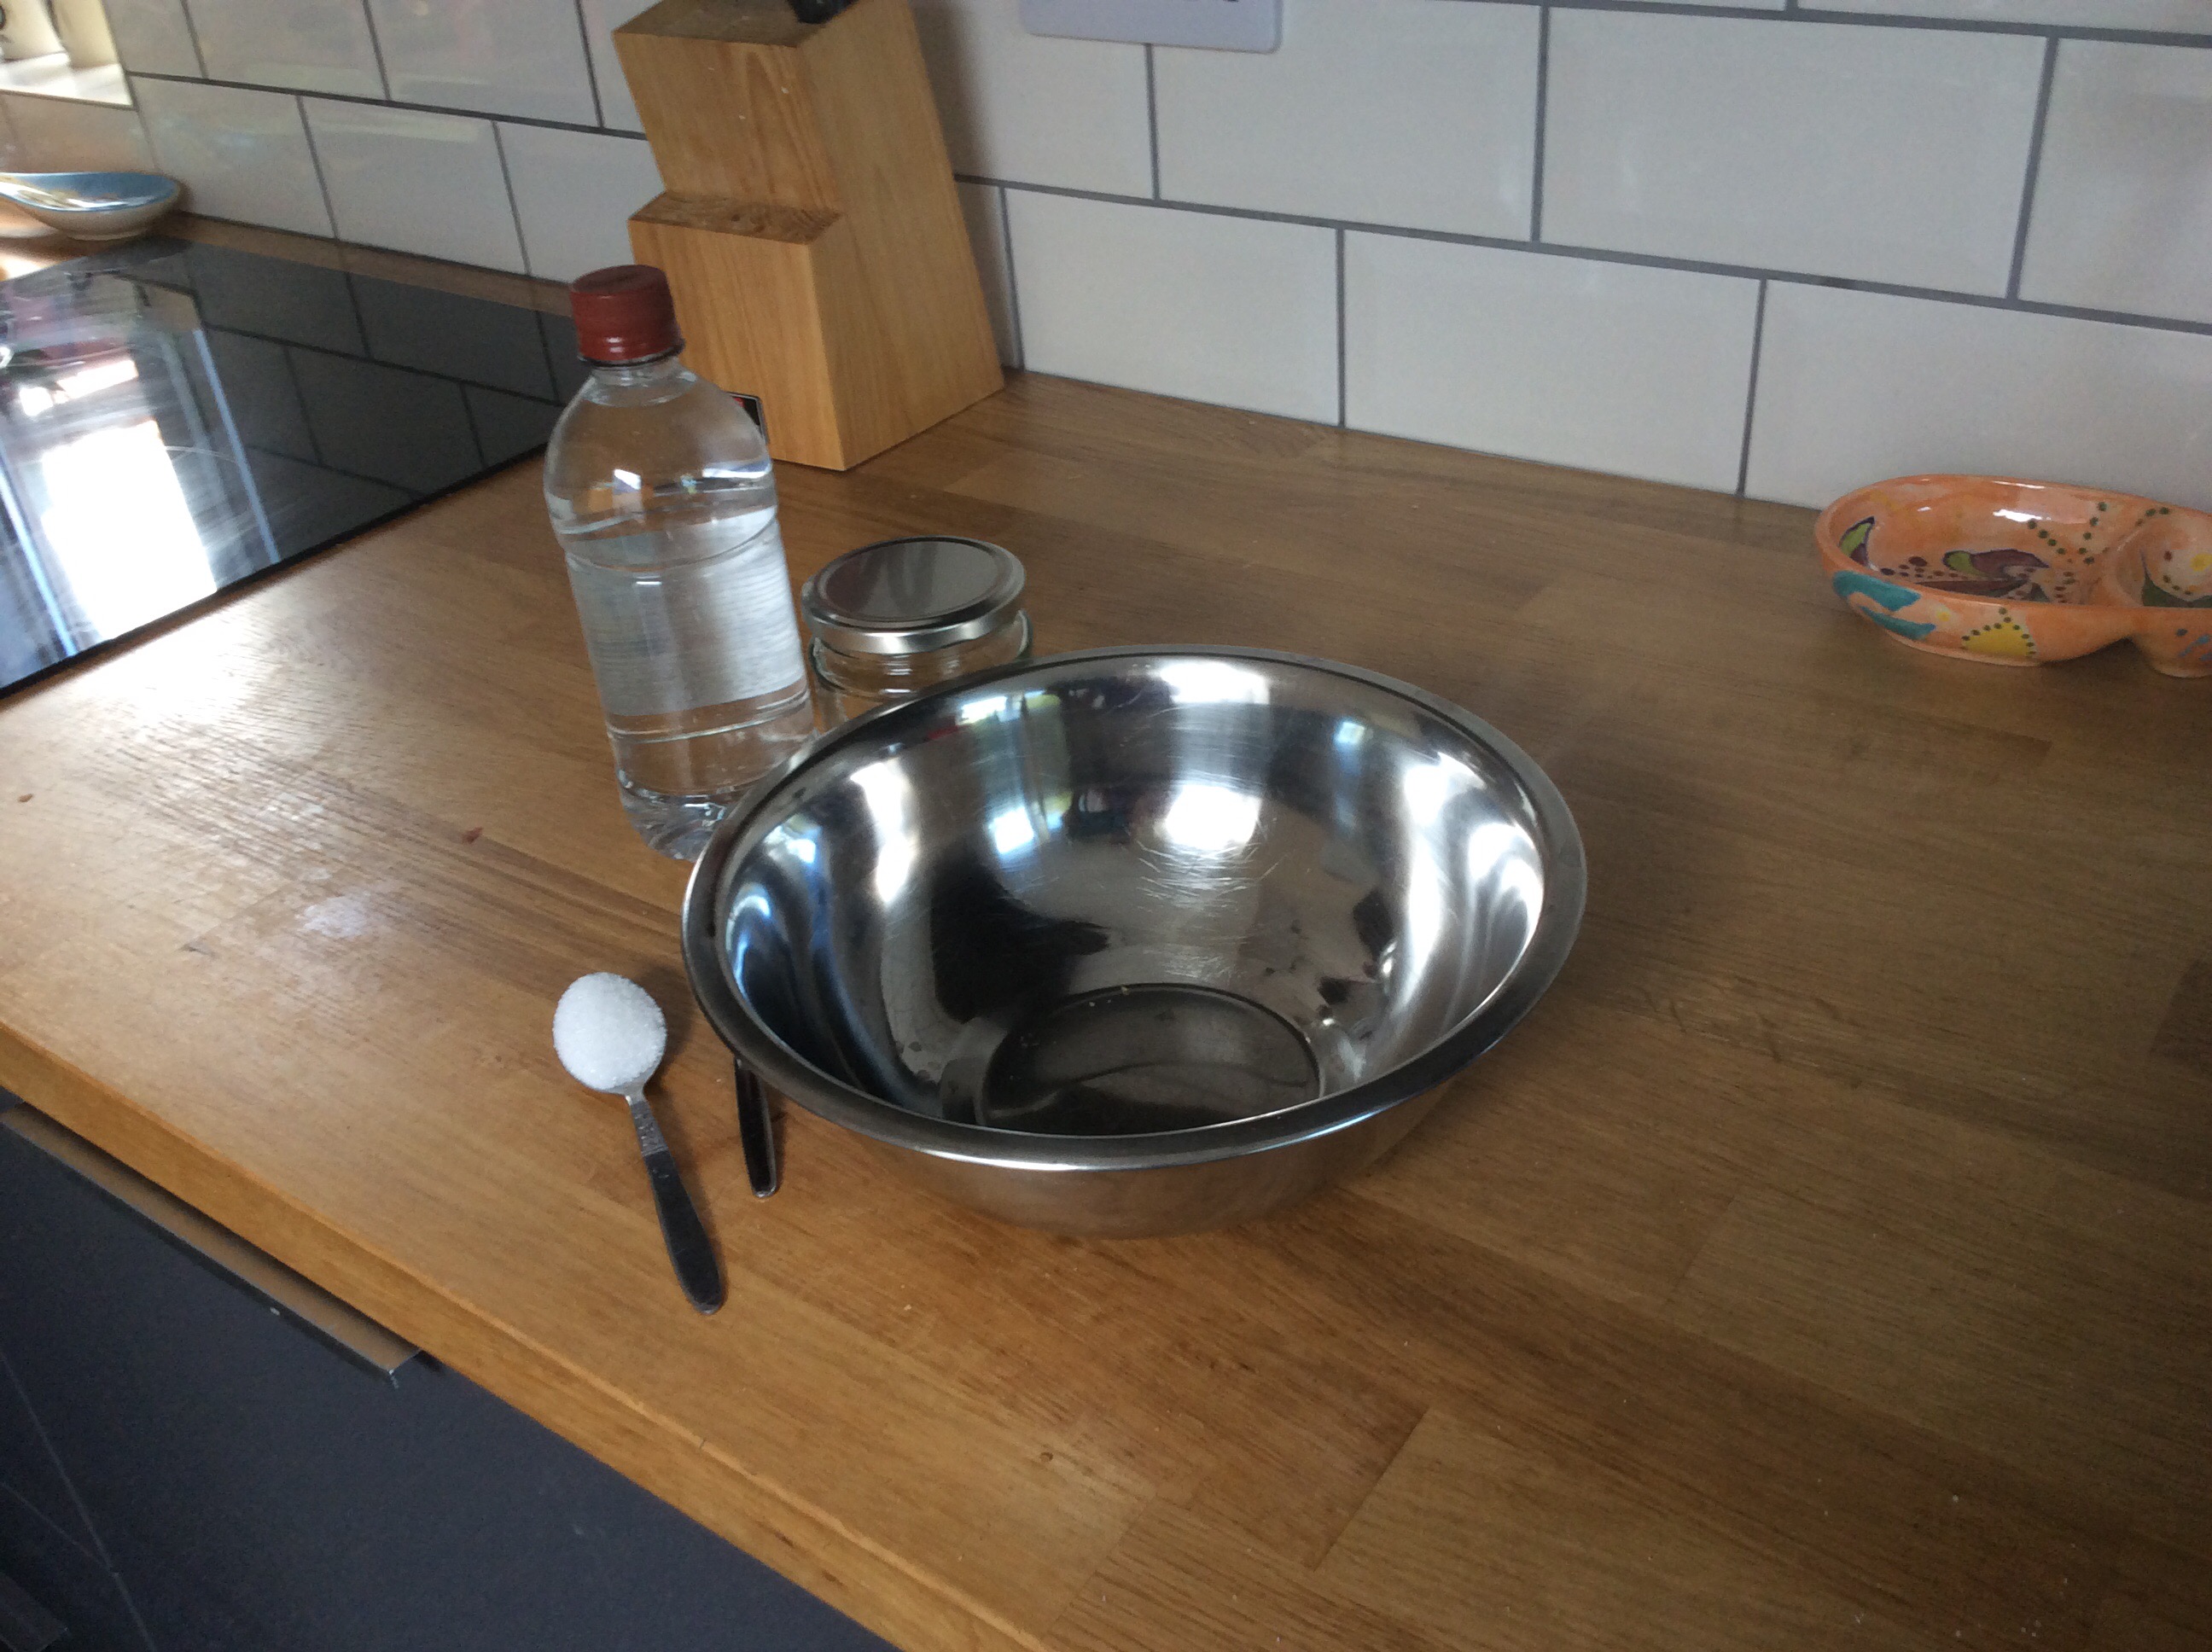
Here are the ingredients you will need for one jam jar size:
Half a jar of clear vinegar.
1.5 teaspoon of sugar
1 teaspoon of salt
A big bunch of green chillies
500ml hot water
OK here’s what you need to do:
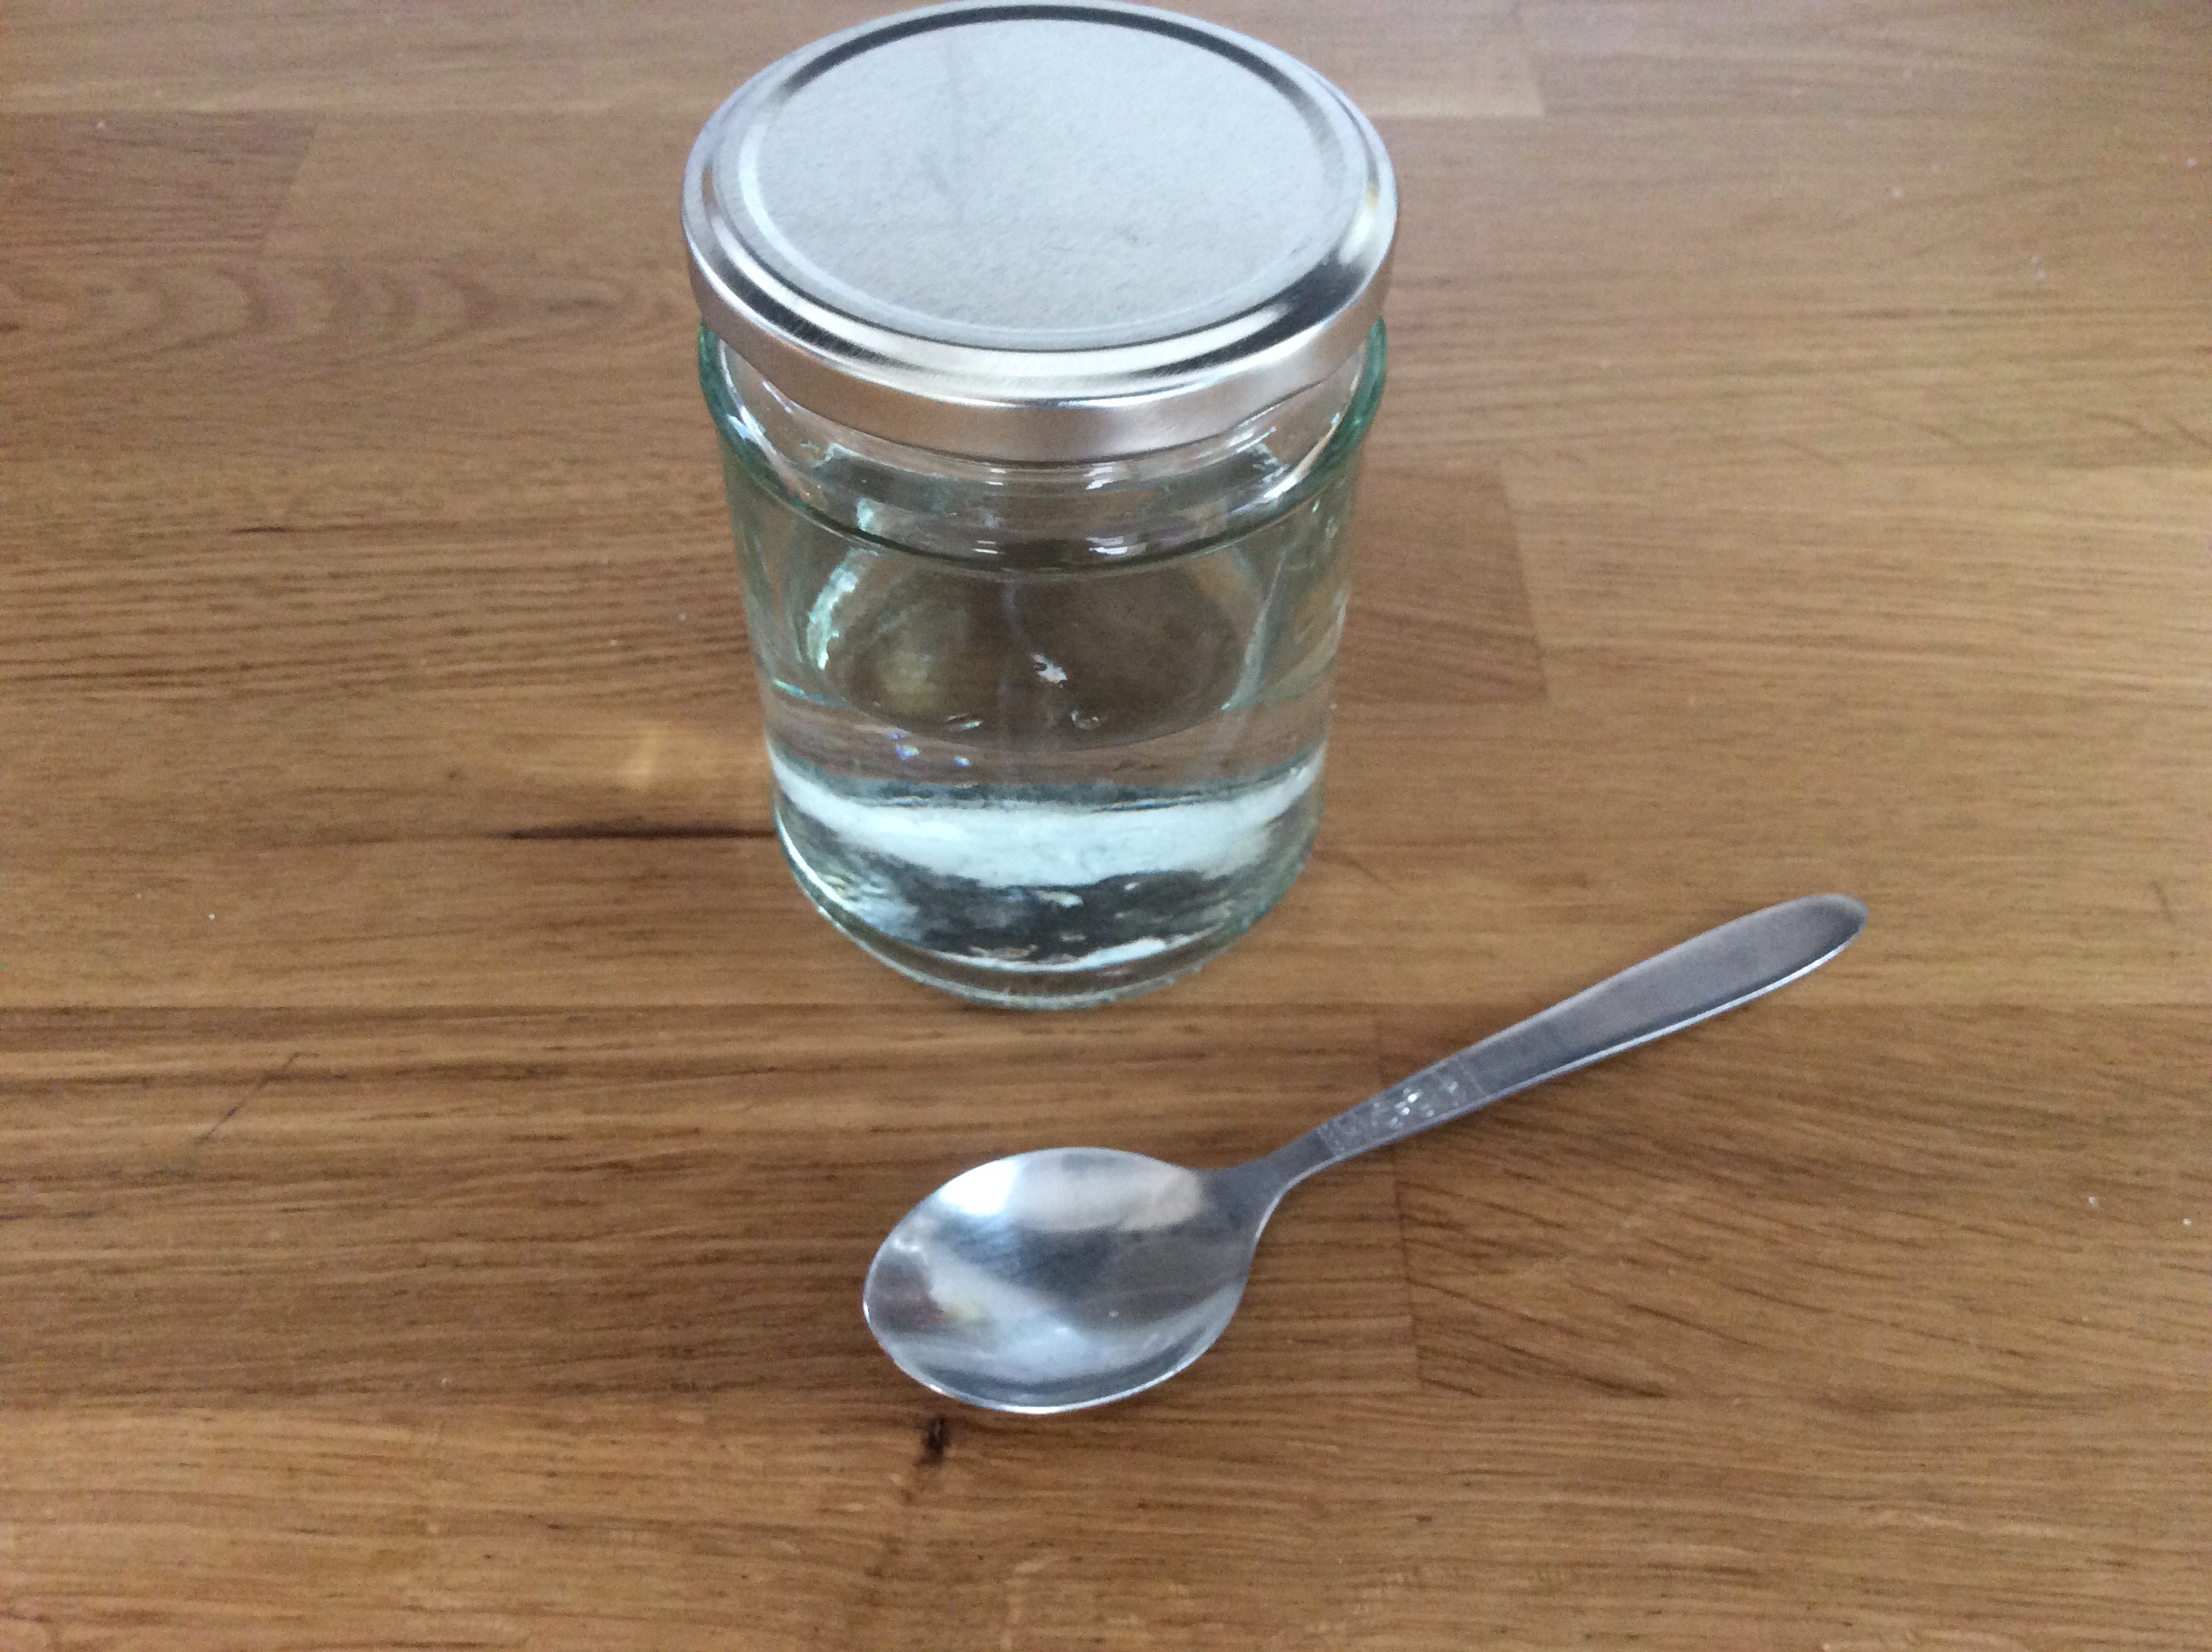
Combine the vinegar with the sugar and salt in the jar you will be using to store them when finished.
Put the lid on and give it a good shake so that the sugar and salt dissolve in the vinegar.
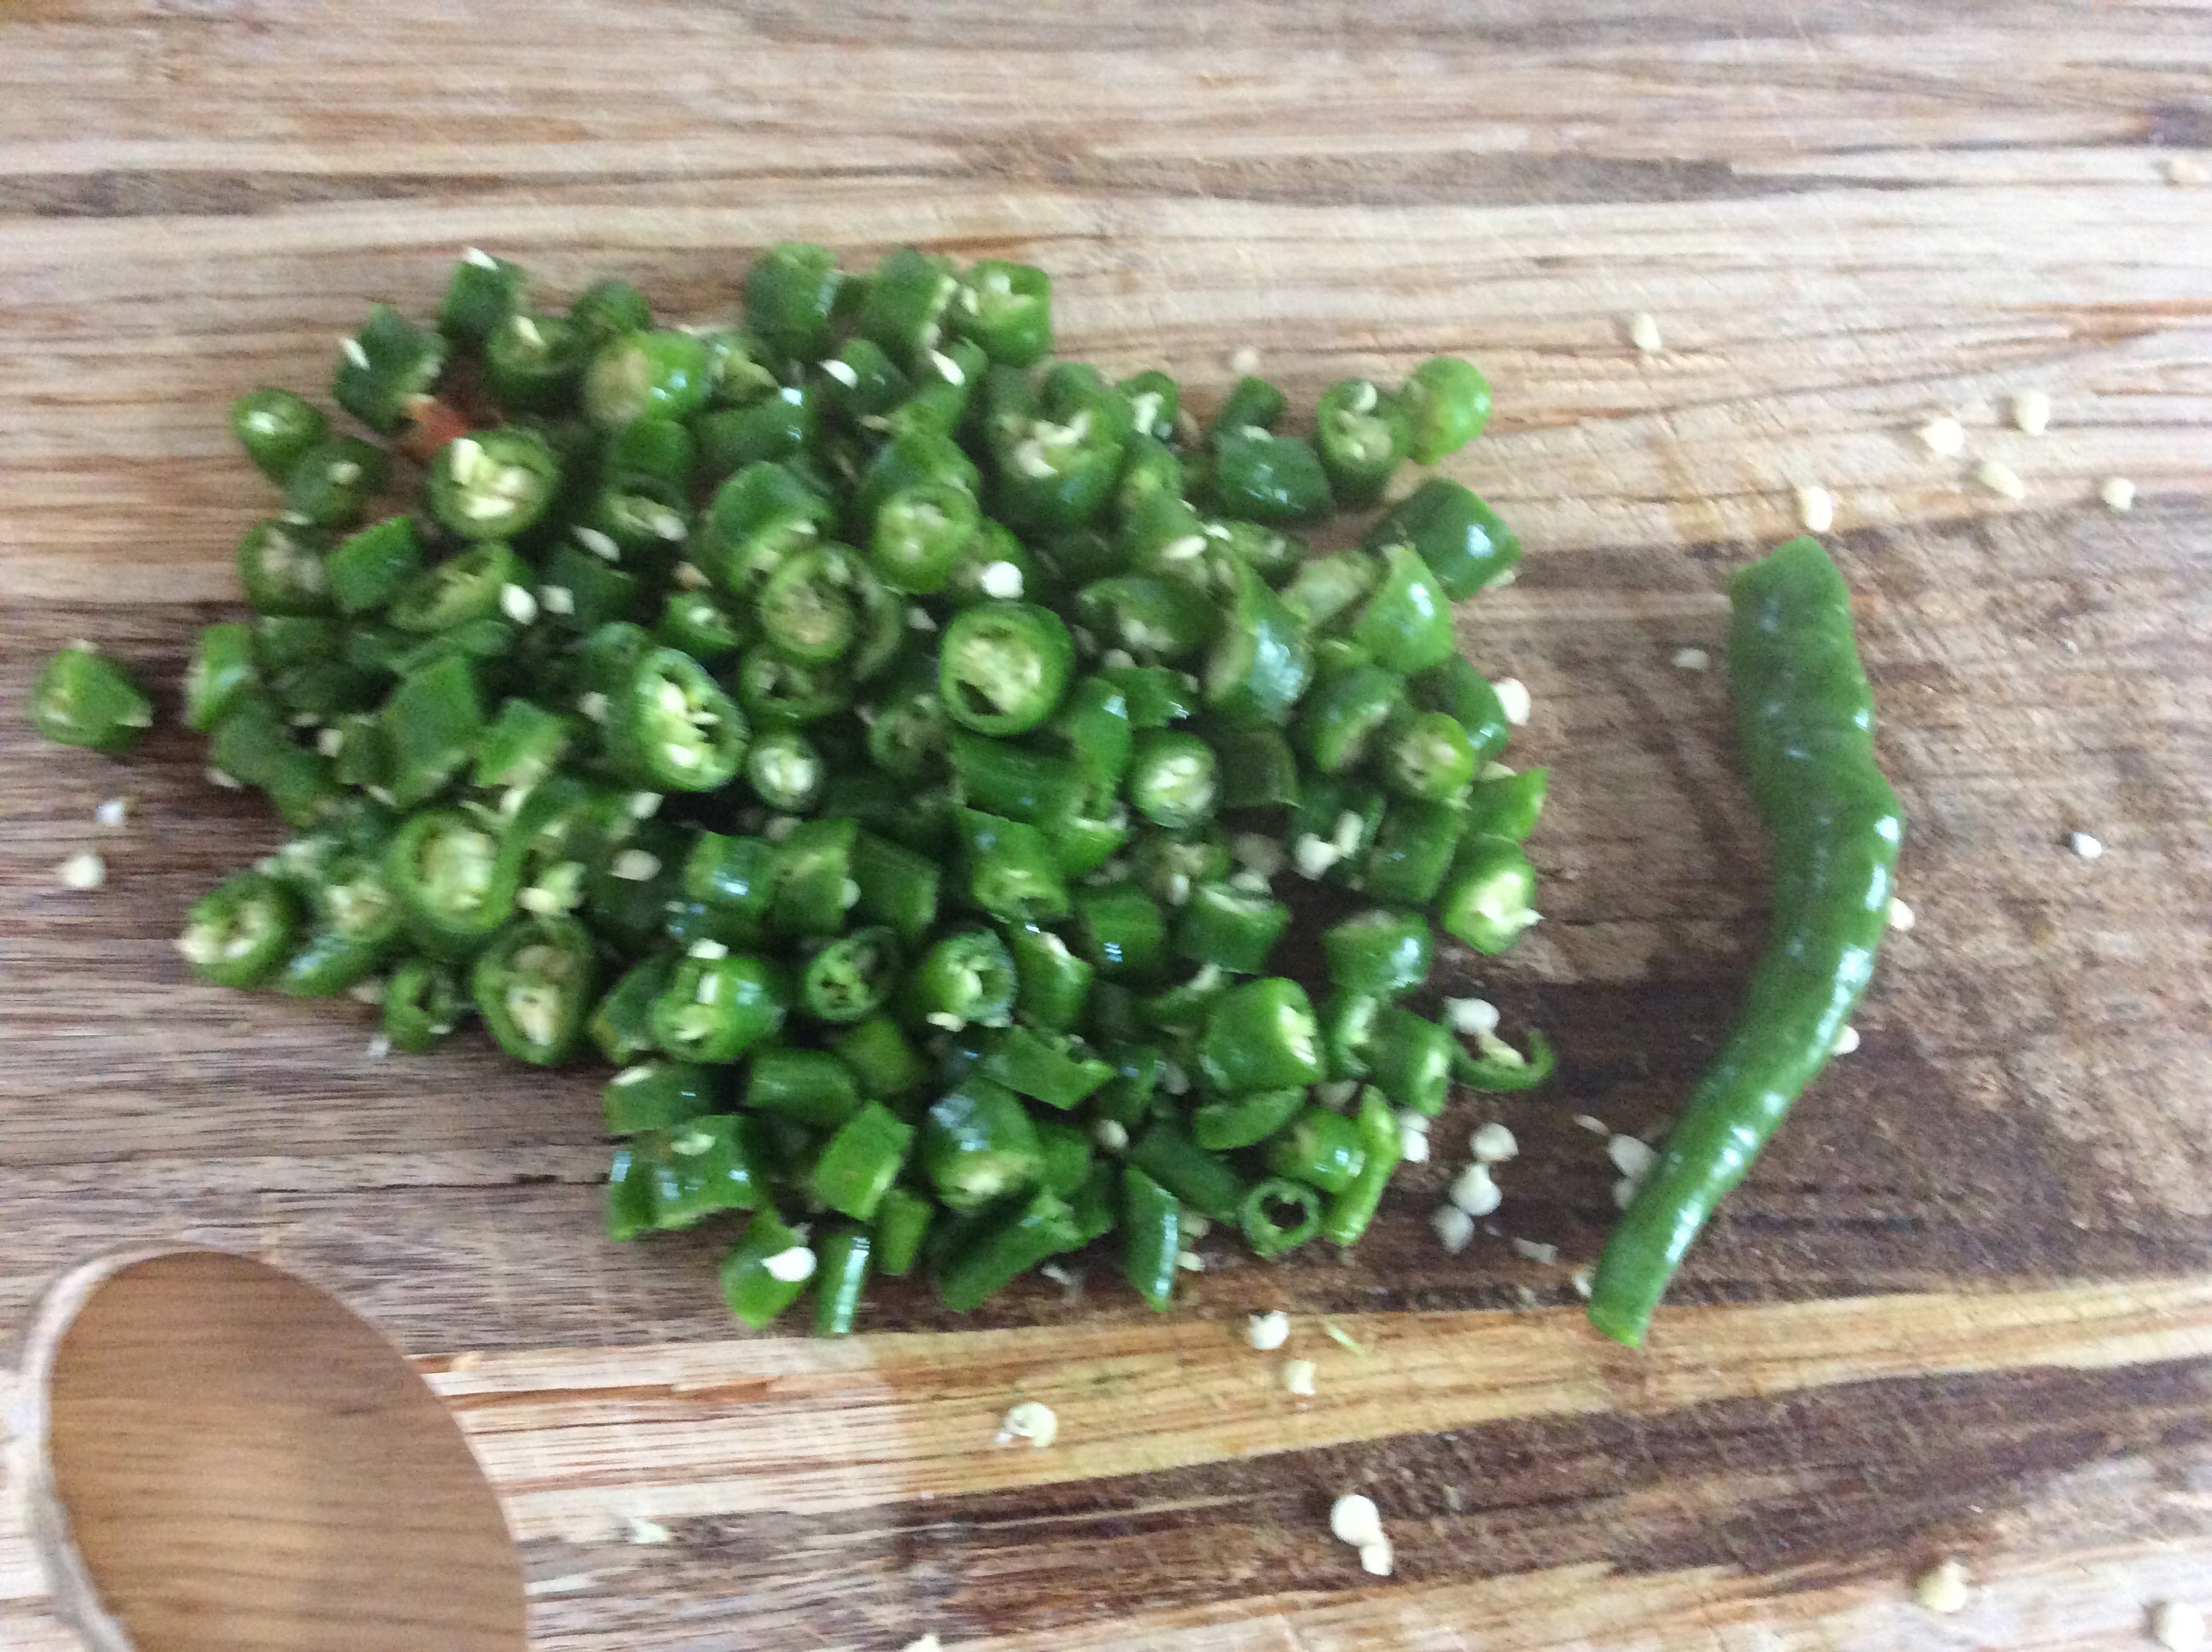
Top and tail the chillies and then chop in 1cm lengths.
Place in a large bowl and pour over the hot water.
Leave for 30 seconds and then scoop out with a slotted spoon.
Try and leave behind as many of the chilli seeds as possible – you don’t need or really want them all as they are pretty hot.
Place the chillies into the jar with the vinegar, sugar and salt solution.
Pop in the fridge and leave for a week before using.
If you have enjoyed this recipe, please have a look at my other ‘Easy’ ways to create great food here:
Perfect Pineapple Cake Recipe for lockdown in easy picture guide steps…..
This is moist, sweet and a delight to the taste buds. My Step by step picture guide makes it super easy to make. You can also Jump to Recipe
I love a good cake and my family loves baking day too! Who doesn’t love the smell of baking coming from the kitchen and knowing that soon there will be the delicious offerings available to taste.
This cake is made very moist by the addition of the syrup from the canned pineapple. You can use fresh pineapple of course, just make sure if you do that you rescue every bit of juice that you create so that you can add it.
Hello and welcome! Have a look at the menu and see what takes your fancy! Recipes, reviews and tips on how to navigate the parenting world…..well, we try! 🙂
Any thoughts are welcome on this site, I love to hear your views. What would you like me to review next on myrealfairy.com?
If you are a brand, small business or voluntary organisation then please get in touch.
If you would like to contribute an article then I’d like to hear from you.
Nothing quite like the smell of fresh baked bread is there? With this easy soda bread without buttermilk recipe you can get just that without all the kneading, proving and above all, without the waiting!
Most recipes for soda bread include the traditional buttermilk. I couldn’t get hold of it so used another home method of converting your milk into buttermilk. As with everything to do with this recipe, I did it the easy way. Put one table spoon of fresh or bottled lemon juice into your jug of milk. Within 5 minutes it’s doing its thing and turning into buttermilk.
If you cant find buttermilk then this is great for you, if you can then use it and don't add the lemon.
Servings: 8
Ingredients
1tbspLemon juice
300mlWhole milk
450grammesPlain flour
1tspnBicarbonate of soda
1tspnSalt
Instructions
Pour the milk into a jug and add the lemon juice.
Leave to stand for 5 minutes for it to turn into buttermilk
While this is happening weigh out your other ingredients
Put the flour, bicarbonate of soda and the salt in a large mixing bowl
Pour in the buttermilk and combine together into a large ball
Don't overwork but just form into the ball
Place on a lined and floured baking tray
Cook for 35-40 minutes on 180oc for a fan oven
Test by putting in a wooden cocktail stick and if it comes out clear then it's done. Also tap on the bottom of the loaf and if it sounds hollow then that is a great sign
You’ll be so delighted with this bread, it has the look and taste of a deep tasty farmhouse style loaf.
I enjoy mine with lots of butter and cheese while my boys tend to go for black currant jam generously spread right up to the edges.
With my favourite stilton and cheddar cheese
Have a go and let me know how it turns out, I always love to hear.
This dip is packed full of punch and is equally good on burgers as it is on the buffet table ready for breadsticks and crunchy carrots to be dipped in generously.
These little cherry peppers have a heat to them which isn’t overpowering on the palate, it’s more of a warm sweet taste which doesn’t leave you reaching for gulps of water.
My other half came home from our local shops the other day with a huge great big tub of these little gems. After seeing them in the fridge for about a week I knew that I would have to do something with them as they didn’t seem to be disappearing no matter how many we ate! There’s only so many times that you can put them on the side of the plate as an accompaniment so I set to work on a recipe. I played around with the different types of flavours I wanted to have and as I wanted to make the most of the sweet taste these peppers had to offer.
In this recipe you can alter the quantities of red peppers to shallots as takes your fancy and you can use standard flaky salt instead of the fancy Himalayan pink salt I wanted to try out.
What is fabulous about this recipe is that it’s very easy to make, very quick and leaves you with 2 jars of this delicious cherry pepper dip.
25Cherry Pepperspre cooked. Do this by baking in a covered dish in the oven for 20 mins on a medium heat.
3smallShallots
1largeGarlic Clove
4tbspOlive Oil
1tbspTomato Paste
1tbspWhite Wine Vinegar
1tspSugar
Instructions
Place the olive oil and shallots in a deep saucepan and cook gently for 5 minutes.
Crush the garlic and add this along with the salt to the shallots.
Cook for 2 minutes.
Add vinegar, sugar and tomato paste and stir well.
Add cherry peppers and stir.
Leave to cool for 5 mins.
Place all the ingredients into a food processor and blend until smooth.
This dip makes a great gift too. Who can resist something that tastes so good and they can actually make use of. Place the mixture into nice looking pots which are sterilised and will produce an air tight seal when closed. Yummy!
If this has made you feel in the cooking mood then have a look at this Easy Soda Bread recipe which is a wonderful partner to this Red Cherry Pepper Dip.
If you like this recipe then please rate it using the stars index in the comments section. I’d love to hear your views too. Enjoy!
I wanted to make full use of all the beautiful tomatoes we have grown in the garden this year so I have developed this Tasty Tomato Chutney. It’s been our best year so far with our tomatoes and I am pleased as punch with how it has turned out.
We set about with our raised beds this spring at the end of our garden. It’s been a learning experience which is still playing out due to it not being the end of the season yet for root vegetables. I’ll let you know how we get on soon. However, our tomatoes are coming on fantastically and growing up and around our patio pallet garden which is brilliant.
Tiger tomatoes starting to ripen
The tomatoes which we have used are a combination of tiger tomatoes which are striped hence the name I guess and standard red tomatoes which my youngest and I grew from the seeds of a fresh tomato which was bought from the supermarket at the start of the year. We were preparing our lunch one day and he asked if we could plant the seeds and we did. I honestly didn’t think much would come of it but low and behold it did and the plants are strong and producing lots of fruit.
I hope you enjoy this recipe and see how easy it is to make fresh chutney with a few ingredients.
Use a really sharp knife to cut a cross in the skin before pouring the boiling water over. This way after 5 minutes you can push the tomatoes out of their skin which isn’t needed in the recipe.
The chutney is ideal as a little accompaniment to most other supper or lunch dishes and can even be added to vegetarian or meat stews for added richness.
When I was a young girl and staying with my nan on the weekends she would often bake with me. I remember the feel of the oversized apron tied around my waist, folded in the middle so that it wouldn’t trip me up.
One of the staple things we would bake together was scones; plain, fruit or cheese, all these would be made with her big hands over my little ones.
So, when I was looking for a tasty bake to make with my boys then cheese scones were a favourite choice.
The recipe and method are straightforward and ideas for moulding together quickly for a warm and wholesome savory treat.
Honestly this ice cream recipe is so easy that it barely makes a full post, I just need to shout it from the rooftops so that everyone can hear.
You don’t need an ice cream maker, you don’t need to stir it part way through the freezing process, it really is One Step No Churn Ice Cream. My other half loves his Baileys or Irish cream liqueur. Just to be clear, this post is not sponsored or endorsed and I haven’t been paid mega bucks *I wish!* to endorse any brand. It’s purely his treat and this salted caramel version was screaming out to be poured into this creamy ice cream.
The quantities I have included in the recipe below make enough for 4 tubs of this gorgeous ice cream. If you want to make for fewer people then it’s still perfect if you half the quantities and make less.
The addition of the alcohol does make it a bit smoother and easier to scoop. Can you make it without the alcohol?…Sure, there are so many varieties to choose from. Salted Caramel syrup without the liquer part will be just as tasty.
One Step No Churn Ice Cream with Salted Caramel Baileys
One Step No Churn Ice Cream with Salted Caramel Baileys
Prep Time
5mins
freezing time
5hrs
Probably the easiest ice cream you will ever make. The most delicious too! This will make 4 medium tubs similar to the luxury brand ones from your local supermarket.
Course:
Dessert
Servings: 16
Author: mainy - myrealfairy
Ingredients
600mlDouble Cream
390gCondensed MilkSold in cans
3tbspSalted Caramel Baileys Irish Liqueur Or supermarkets own brand
Instructions
This is a one step recipe....
Place all of the ingredients into a mixing bowl, whisk until soft peaks are formed.
Pour into a suitable freezable container with a tight fitting lid. Place in the freezer for 5hrs or more.
Recipe Notes
Ready to eat after 5hrs of freezing. Lots of different flavours to choose from. Experiment and enjoy!
This dish is so easy to make and the idea that you can make super yummy pesto made with carrot tops is a great idea. The amount of green carrot tops that just end up in the food bin is really daft and finding that they can be put to good use is pretty cool.
We have been growing vegetables this year which you can see in my free pallet patio garden post and you can actually see the carrots as they started off there. They have come out all shapes and sizes which is really cute.
We eat lots of pasta at home and it’s a really quick supper for our family which can fit in with our busy homelife. Pesto has long been a favourite but I had rarely made it before. Then when I was looking for ways to use the leftovers from some of my home grown vegetables I stumbled across someone saying to try it in pesto. I adapted the general idea and had a play and came up with this recipe which is quick, easy and very adaptable to the amount of ingredients you have to hand.
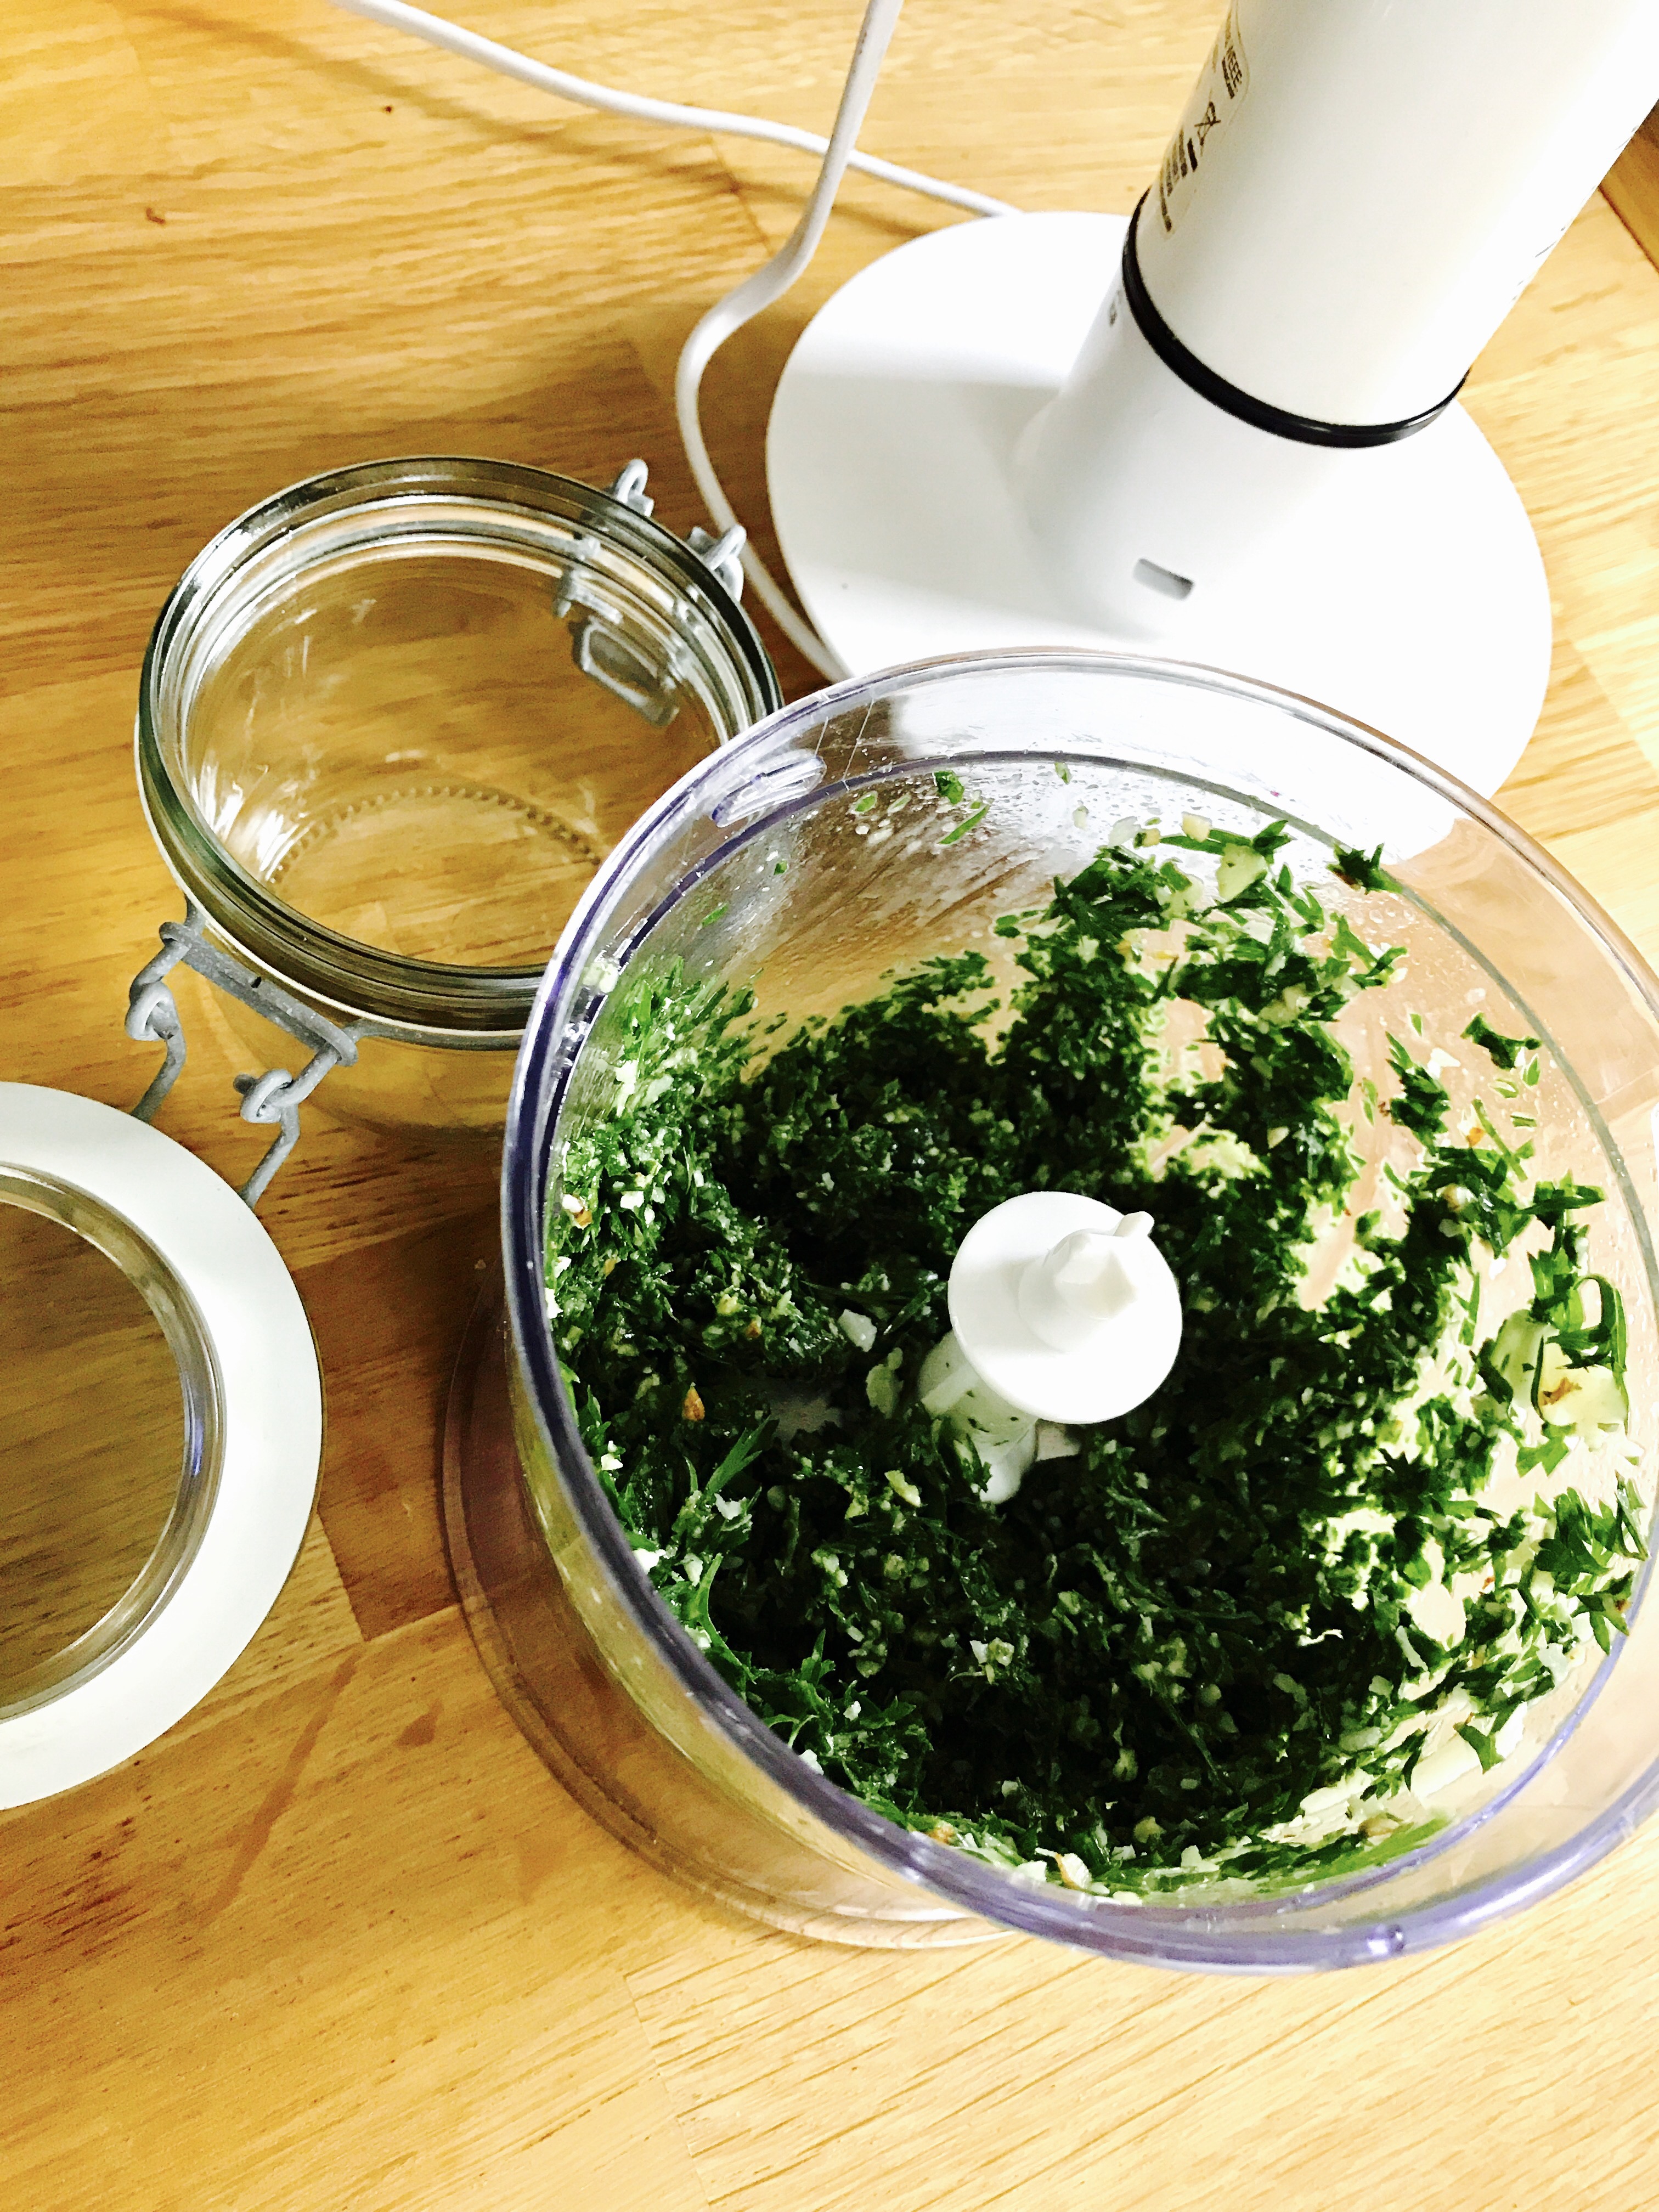
One of the many advantages of this recipe is that it’s an all in one recipe. Everything into the mixer and blitz for a couple of minutes.
Once made you can store for up to two weeks in an airtight container in the fridge. Try it out on chicken or tofu too.
This delicious Pesto made with the leafy green carrot tops adds a new dimension to Pesto Pasta. Also great to be smothered over meat or vegetables for your BBQ or main meal
Course:
Main Course
Servings: 6people
Author: Mainy - myrealfairy.com
Ingredients
100mlRapeseed Oil
1bunchGreen leafs from carrot tops
1cloveGarlic
10leavesBasil
1handfulHazelnuts
25grammesParmesan cheese
Instructions
Wash the leafy tops of the carrots well in cold water to remove any soil
Peel a garlic clove
Put all of the ingredients into a small blender with a chopping setting.
Whizz for approximately 2 minutes until it is all chopped to a smooth paste
“Come down for tea” I hollar cheerfully up the stairs….. a minute or so goes by….
“boys, come on my darlings, it’s on the table….” more time passes and not a peep can be heard.
It’s now on the table and I’m getting a bit irritated….”Boys!!”
I’m starting to boil now…. “Right I’m going to count to 3!”
Eventually they appear, not in the least bit aware of the effect of my shouting up the stairs. I’ve now got to get myself out of the self induced strop that I’m in because day after day my voice is just not having the effect I think it should. My little boys are getting into a world of their own and that world is inhabited by the likes of YouTube stars and watching people carry out the silliest of pranks on shows they and their friends find online.
Now, I love to blog, my youngest loves to vlog for my blog and I have brought them the gadgets to watch this stuff on so really the blame lands firmly with me, I realise that but it’s all starting to get on my wick a bit.
Me and the OH do chat about the gadgets in our house and the boys use of them. We are pretty good in a few areas, we don’t have any devices at the meal table, homework is done straight away and they both do classes after school. It’s still amazes me though how they can get so into the zone watching these things on YouTube. I push for things like newsround and adventure shows to throw in a bit of knowledge based learning but even Steve Backshaw has a bit of competition with the YouTube elite of Spencer et al.
Looking at the stats you can find for facebook, snapchat, instagram and all the other little cousins of the social media world you can see the millions of daily users and how year on year these are increasing to meet the demand of our younger generation hopping onto this online juggernaut. Even their games such as Fortnite can have them chatting for hours.
I find myself dreaming of giving it all up and living on a farm away from the bustle of modern life. I see the huge pitfalls too of making this leap; money, contacts, work, school to name but a few of the basics. It’s still so tempting!
But is it?
I was watching a film the other night about a family shunning the modern way of living and relying more on natural skills and intellectual educational learning and I kept thinking the same thing; there was something missing. The more I thought about it the easier it was to see, the missing link was ‘balance‘.
Technology can have so many great benefits to us and our family life, we can instantly communicate with friends and relatives on the other side of the world and keep our links with these people alive and current. They can help with homework and general knowledge. On the other hand are our children’s social skills being permanently adversely affected? Are we protecting their well-being by letting them be in their rooms on social media apps that distort their communication methods into abbreviated text junk?
So, back to my thoughts about balance and what can I do to instil some balance in the way that we live our lives. We can take a moment to stop and think what we are filling our days with. We can discuss together whether this is the direction we want to continue in. Do we need to get back to basics. Not one of those political slogans but something that is right for our own families. Sitting and talking as a family, eating together at least once a day, spending time without phones, iPads or any form of devise. I’m willing to give this a go and put my other solution of wellington boots and the countryside to one side at the moment. I want us to connect.
Has technology affected the way that you and your family communicate with each other and have you seen this trend slowly change or were there certain triggers? Can they be a valuable aid for educational learning?
It’s that time of year again to go wild with the face paint and walk the streets in search of sweets and mischief. One of the best traditions in our house has been the halloween pumpkin carving. This is totally the domain of my OH. I’m so proud of him I couldn’t resist the urge to showcase our previous years offerings. We are set to try and beat these beauties this year but we haven’t even bought the pumpkins yet! Everything has been so busy and even though I have seen them in the shops they are yet to make their way to our house. Stay tuned and they will be on show soon! So, back to last years carvings.
The evening started with the humble pumpkin…
A couple of years ago we brought a pack with all the carving tools in it. It was obviously the OH setting the scene for him to get serious!
The preparation has started and all of the insides are taken out. Sounds gruesome but it’s definitely in the Halloween theme. He uses the stencil for the main shape and marks out the outline.
Before we know it, the unveiling is upon us and look….
Oh yeah, not just one, but two! the Prince of Darkness is joined by the Spooky Spider.
I love them and the kids think they are fab! They will sit outside our house on Halloween with candles in them and let people know that we are joining in the fun.
How is your Halloween going so far? Do you love to get into the spirit of it, if so how do you celebrate?
If you have any links to your carvings, please share in the comments section.


